


A garage is one of the few spaces in a home that’s expected to do everything: store gear, house tools, handle laundry overflow, and—if you’re like a lot of homeowners—double as a gym, workshop, or hangout spot. The problem is that most garages are built as semi-outdoor spaces. They’re leaky, poorly insulated, and often the most uncomfortable room on the property.
The good news: you don’t need to “finish” your garage like an interior room to make it genuinely usable year-round. You just need to control temperature swings, moisture, airflow, and lighting in a sensible order. Here’s how to approach it without wasting money on fixes that don’t move the needle.
Start With the Building Envelope (Before You Buy Gear)
If you want a comfortable space in January and July, don’t start with a heater or portable AC. Start by reducing the number of ways outside air (and outside temperatures) get inside.
Seal the easy leaks first
Most garages leak air in predictable places: bottom corners of the door, side jambs, the gap between drywall and slab, and around any utility penetrations.
A few low-effort wins:
- Replace worn garage door bottom seals and cracked weatherstripping.
- Foam-seal plumbing/electrical penetrations where you can see daylight or feel air movement.
- Add a threshold seal if water or wind pushes under the door.
This step is unglamorous, but it’s the fastest way to cut drafts and dust—especially if you live in a windy area or near open fields.
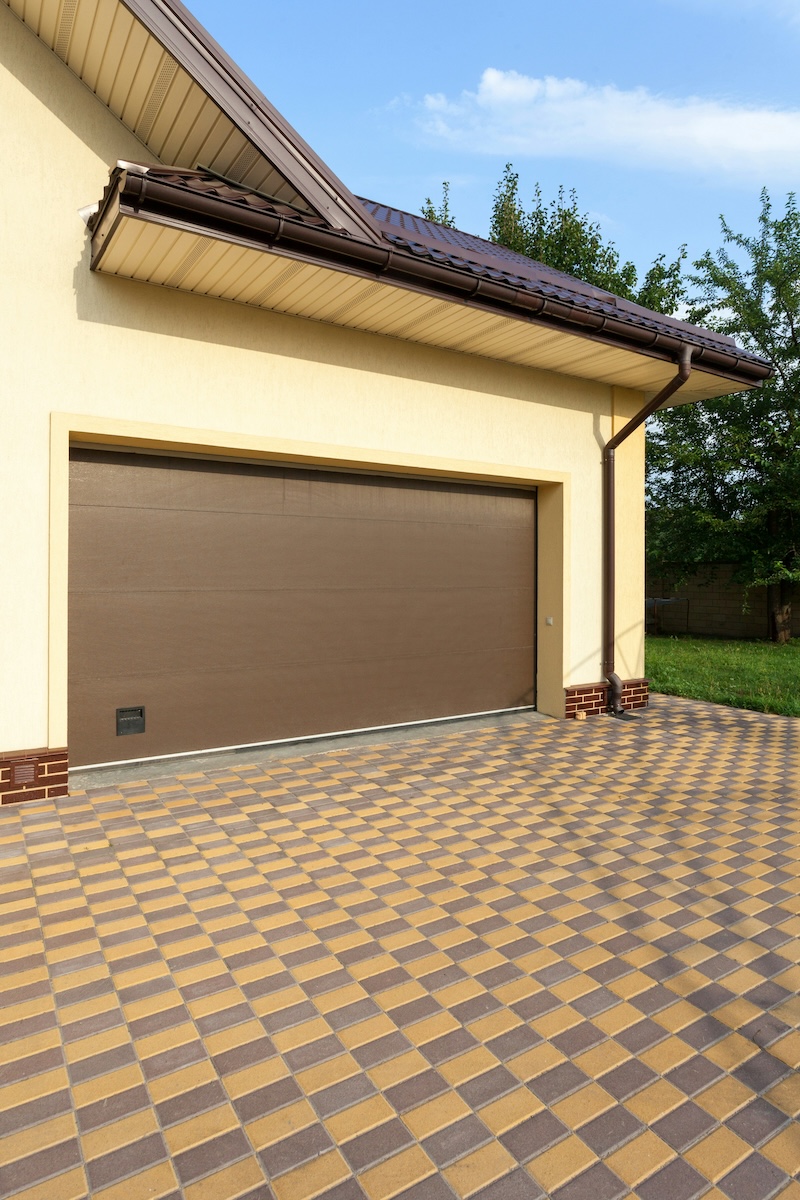
Treat the garage door like the “big wall” it is
The garage door is usually the thinnest, largest surface in the entire space. In winter, it bleeds heat. In summer, it soaks up solar gain and radiates it inward. And because doors have seams and panel edges, they leak air too.
If your goal is temperature stability, insulating the door often produces a bigger comfort jump than people expect. Around the halfway point of a garage comfort project, many homeowners start researching options like garage insulation kits for temperature control because the door is a single upgrade that addresses both radiant heat and conduction in one go—without needing to rebuild walls.
Don’t ignore the walls and ceiling (but prioritise wisely)
If your garage shares a wall with conditioned living space, that wall is already doing work. The bigger swing factor is typically the exterior-facing surfaces and the ceiling (especially if there’s an unconditioned attic above).
If your garage has exposed studs, adding batt insulation and drywall can help. If it’s already finished, you may still be able to improve comfort by:
- air-sealing the top plates and rim joists,
- adding attic insulation above the garage, and
- sealing the access hatch (a common “hole” in the envelope).
Manage Moisture and Air Quality (Comfort Isn’t Only Temperature)
Even a perfectly insulated garage can feel miserable if it’s humid, musty, or full of fumes. Garages have unique air-quality challenges: cars, fuel cans, paints, fertilisers, and sometimes a gas water heater. Seasonal usability means keeping the space healthier and less “garage-y.”
Ventilation: intentional beats accidental
A lot of garages “ventilate” through leaks—dusty, drafty, and uncontrolled. A better approach is to tighten the envelope (as above) and then add ventilation that you can regulate.
Options depend on your climate and usage:
- In humid climates, uncontrolled outdoor air can make the space sticky; a small dehumidifier may do more than a fan.
- In dry climates, a fan can improve comfort quickly, especially for workshops.
If you work with chemicals or run engines, consider a dedicated exhaust fan near the work area and keep the door between garage and house well-sealed. (Many building codes already require a self-closing door for this reason.)
Keep liquid water from becoming a “season”
If you deal with snow, rain, or lawn equipment, your garage floor sees plenty of water. Standing moisture leads to odors, rust, and mildew.
Practical fixes:
- Improve drainage at the driveway/garage interface so water doesn’t slope inward.
- Use a squeegee habit in winter (seriously—it helps).
- Consider a floor coating or interlocking tiles if you want a surface that’s easier to dry and clean.

Choose Heating and Cooling That Matches the Upgrades
Once you’ve reduced drafts and improved insulation, the equipment you need shrinks—and gets cheaper to run.
For many garages, a mini-split is the “right-sized” answer
A ductless mini-split (heat pump) is efficient for both heating and cooling, and it doesn’t require ductwork. It’s a common choice for garages used as gyms or hobby rooms because it can maintain a steady temperature without open flames or combustion.
If a mini-split feels like too much, a space heater and a window unit can work, but you’ll notice the difference insulation makes: uninsulated garages turn those into expensive band-aids.
Air movement matters more than you think
In summer, a ceiling fan or wall-mounted fan can make the space feel several degrees cooler by improving evaporation. In winter, gentle air circulation helps even out hot/cold pockets—especially in garages with higher ceilings.
Upgrade Lighting and Power for Real Usability
A garage that’s technically warm but still dim and underpowered won’t get used.
Lighting: go bright, go even
Swap old bulbs for high-output LED fixtures with good color rendering. Aim for even coverage rather than a single harsh light in the center. If you do detail work (bike repair, woodworking, painting), add task lighting where your hands are.
Power: plan for your future self
If you’re adding tools, a freezer, chargers, or a treadmill, your existing circuits may not cut it. Think ahead:
- Add outlets at bench height to avoid extension cords.
- Consider a dedicated circuit for heaters or compressors.
- If you’re considering an EV in the next few years, it’s worth at least planning a charging route now.
Organise for Seasons, Not Just Storage
The difference between a “storage garage” and a “usable garage” is often how quickly you can reset the space.
Try a seasonal approach:
- Keep frequently used items at arm level, not overhead.
- Store winter gear together, summer gear together, and rotate bins twice a year.
- Hang bulky items (bikes, ladders, kayaks) to reclaim floor space.
You don’t need a full renovation. You need clear zones: a parking zone, a work zone, and a storage zone. Once those are stable, the garage becomes a room you can actually enter without negotiating a maze.
Put It All Together: The Best Order of Operations
If you want the most comfort per dollar, follow this sequence:
- Seal air leaks and upgrade door weatherstripping.
- Insulate the garage door and address the ceiling/attic above if applicable.
- Improve moisture control (drainage, drying, dehumidification where needed).
- Add heating/cooling sized to the now-improved space.
- Upgrade lighting, outlets, and organisation to support how you’ll use it.
A four-season garage isn’t about making it “perfect.” It’s about making it predictable. When temperature swings calm down, humidity is managed, and the space is bright and functional, you stop treating the garage like a holding pen for stuff—and start using it like the flexible bonus room it was always meant to be.
